



How to make furniture look more expensive with a few coats of black paint!
I’ve transformed many items over the years with a few coats of dark paint, but this recent nightstand project is one of my favorites because it calmed the room so much.
I’ll show you more and a quick how-to on how to paint furniture a darker color in a bit, but first — some of my favorites I’ve painted black over the years.

This post may contain affiliate links for your convenience.
I may earn a small commission when you make a purchase through links.
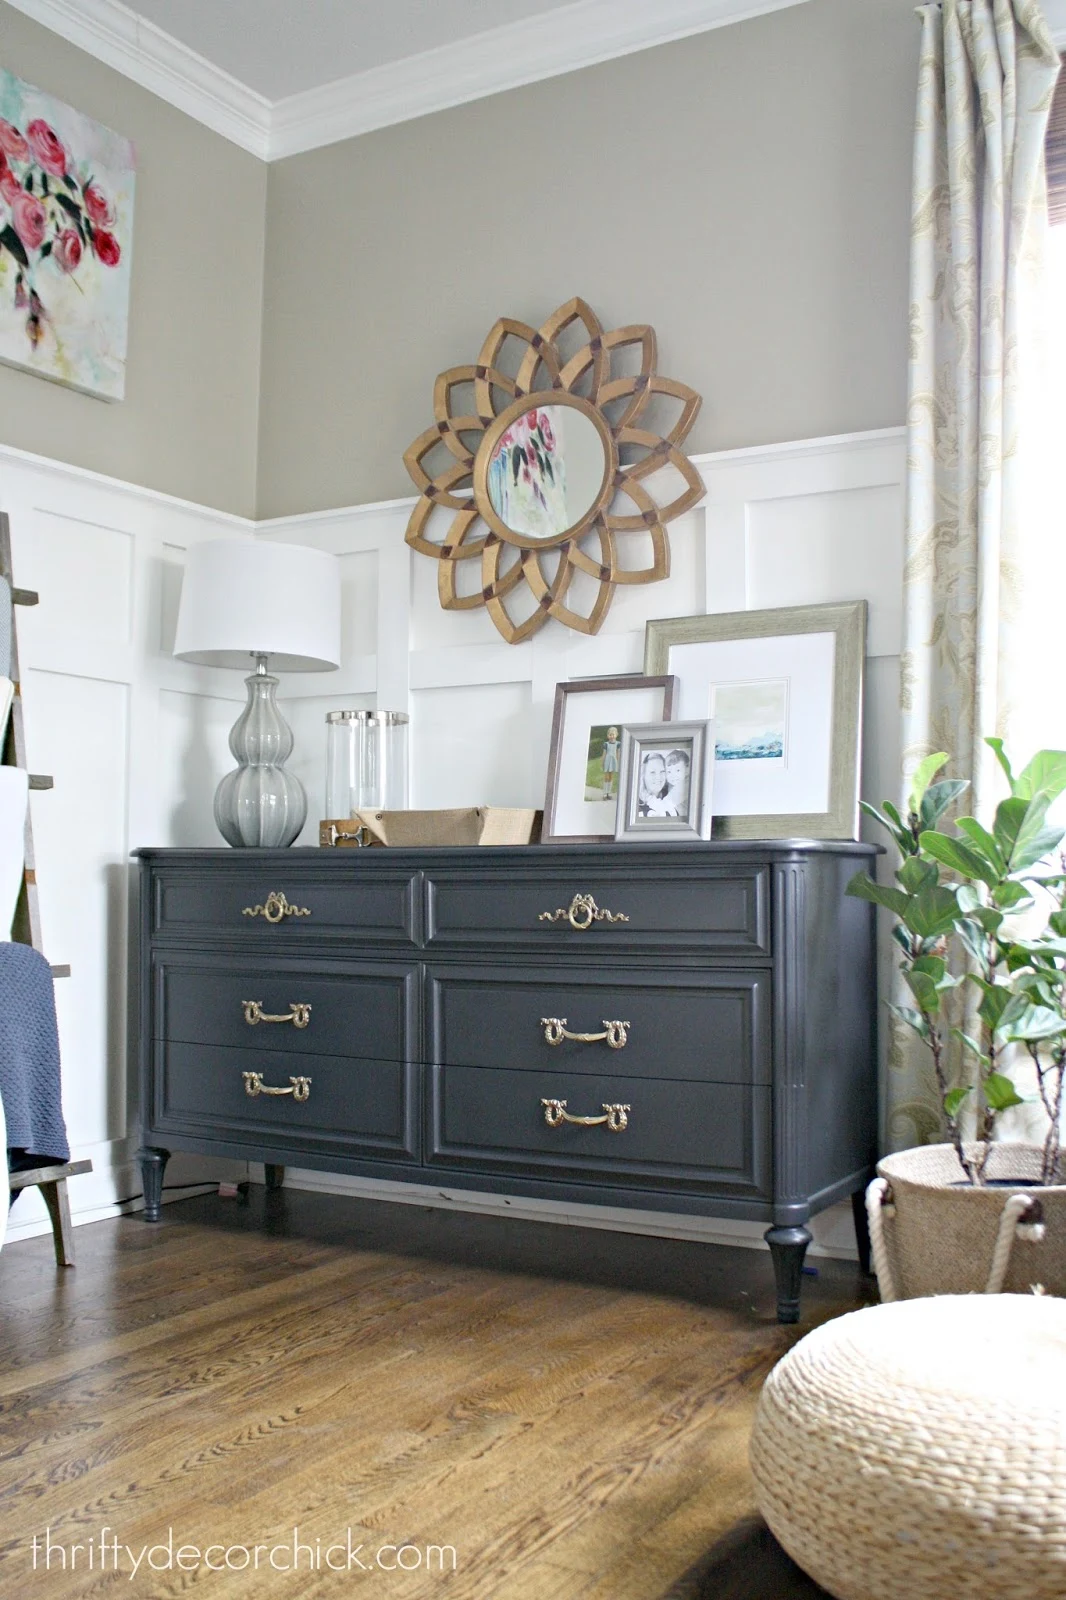
Graphite is a very dark gray, almost black color that I used to paint all of our doors in our last house. I love that paint color!
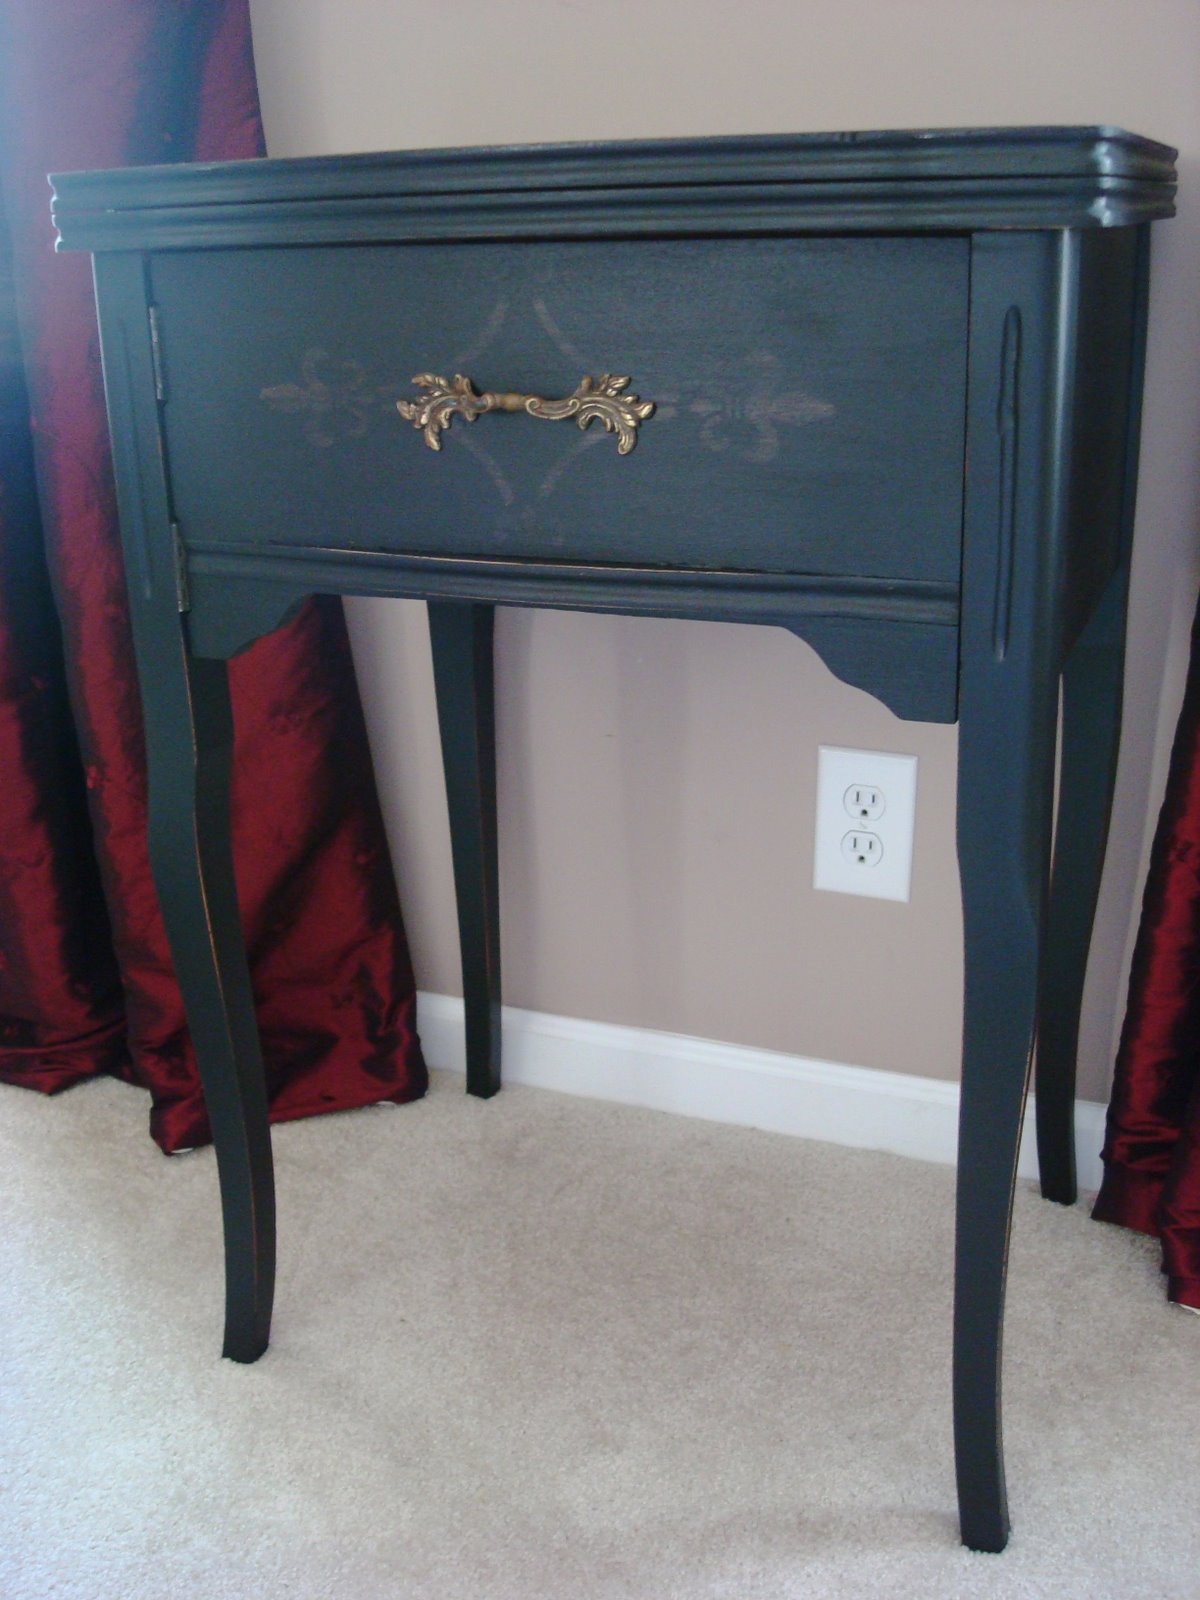
In our current house, I use a semi-gloss black paint for all of the makeovers.
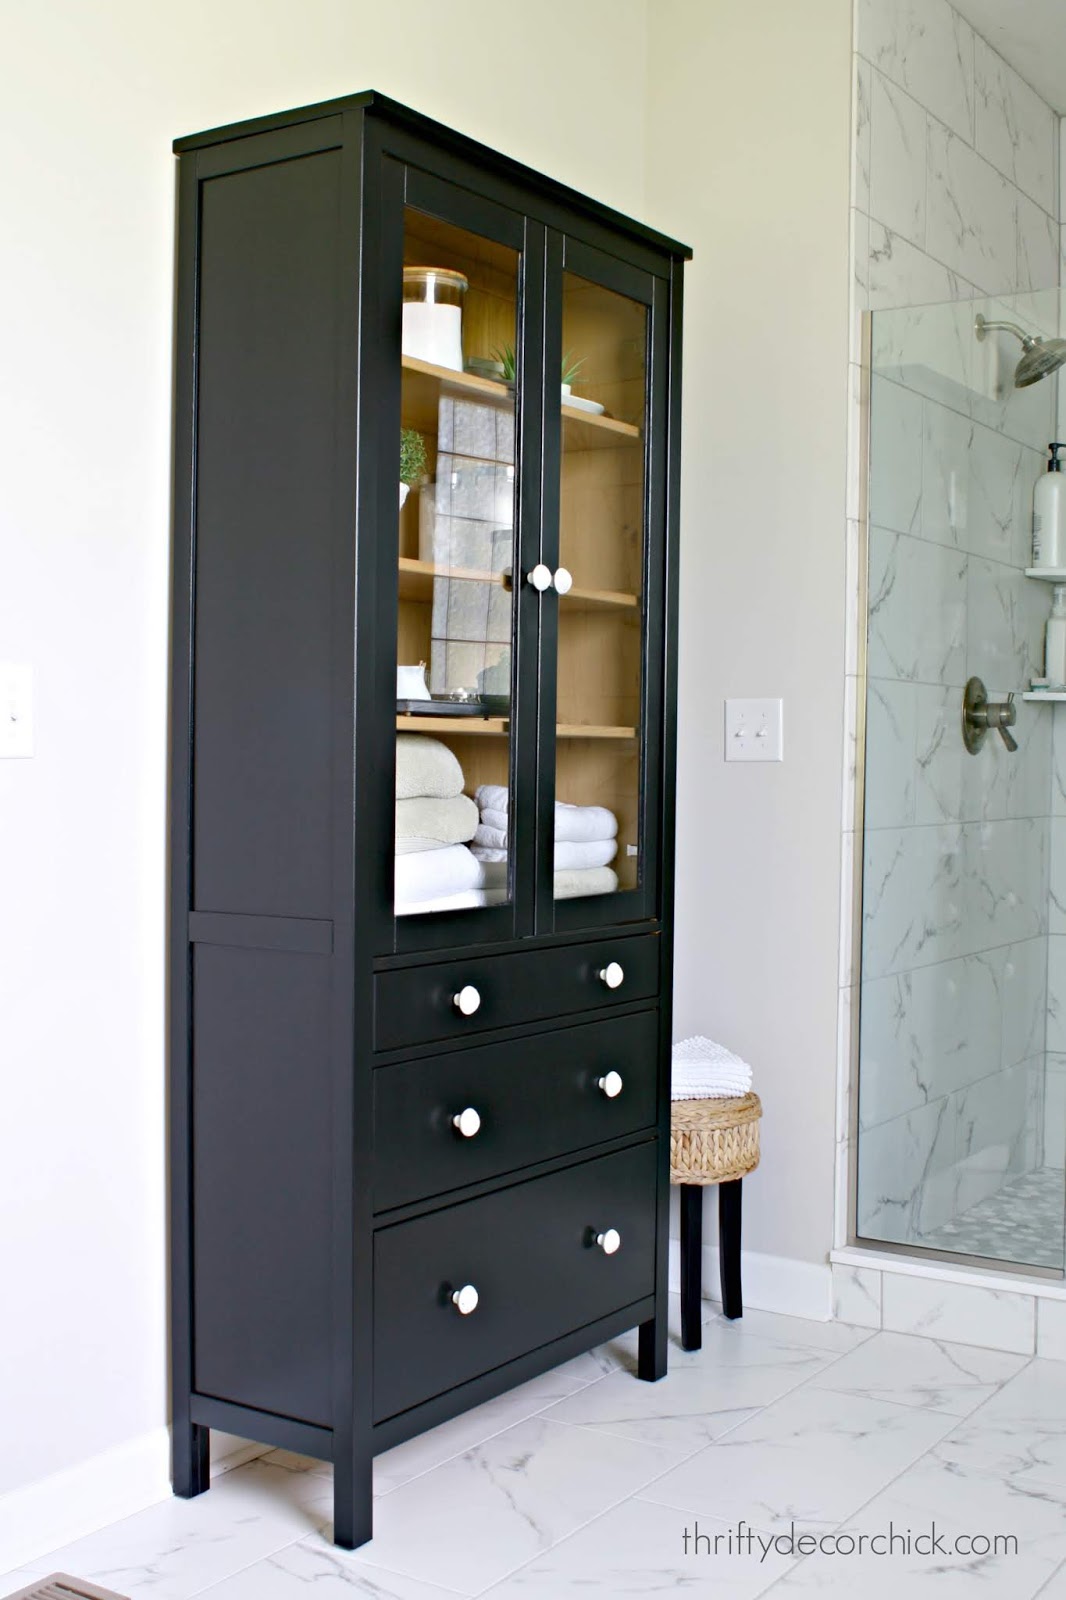
I left the wood finish inside of the cabinet — I love the two-toned final result! My favorite black paint color is Tricorn Black by in a Sherwin-Williams trim paint. It is the BEST black furniture paint.

I LOVE black doors in a home…it’s one of my favorite home decor details.

These come unfinished and much taller — I cut down the legs to make them more of a nightstand height. I love all the storage the three drawers provide.
I had the pretty blue paint (called Gale Force) and it was a lovely color that looked great with the wood stained trim accents I attached to the fronts. But eventually I wanted to calm the color scheme in our room. The bright colors felt out of place.
So I pulled out a gallon of Tricorn Black from Sherwin-Williams to give these nightstands a classic makeover. I find a few lighter coats gives a better finish than less heavy coats:
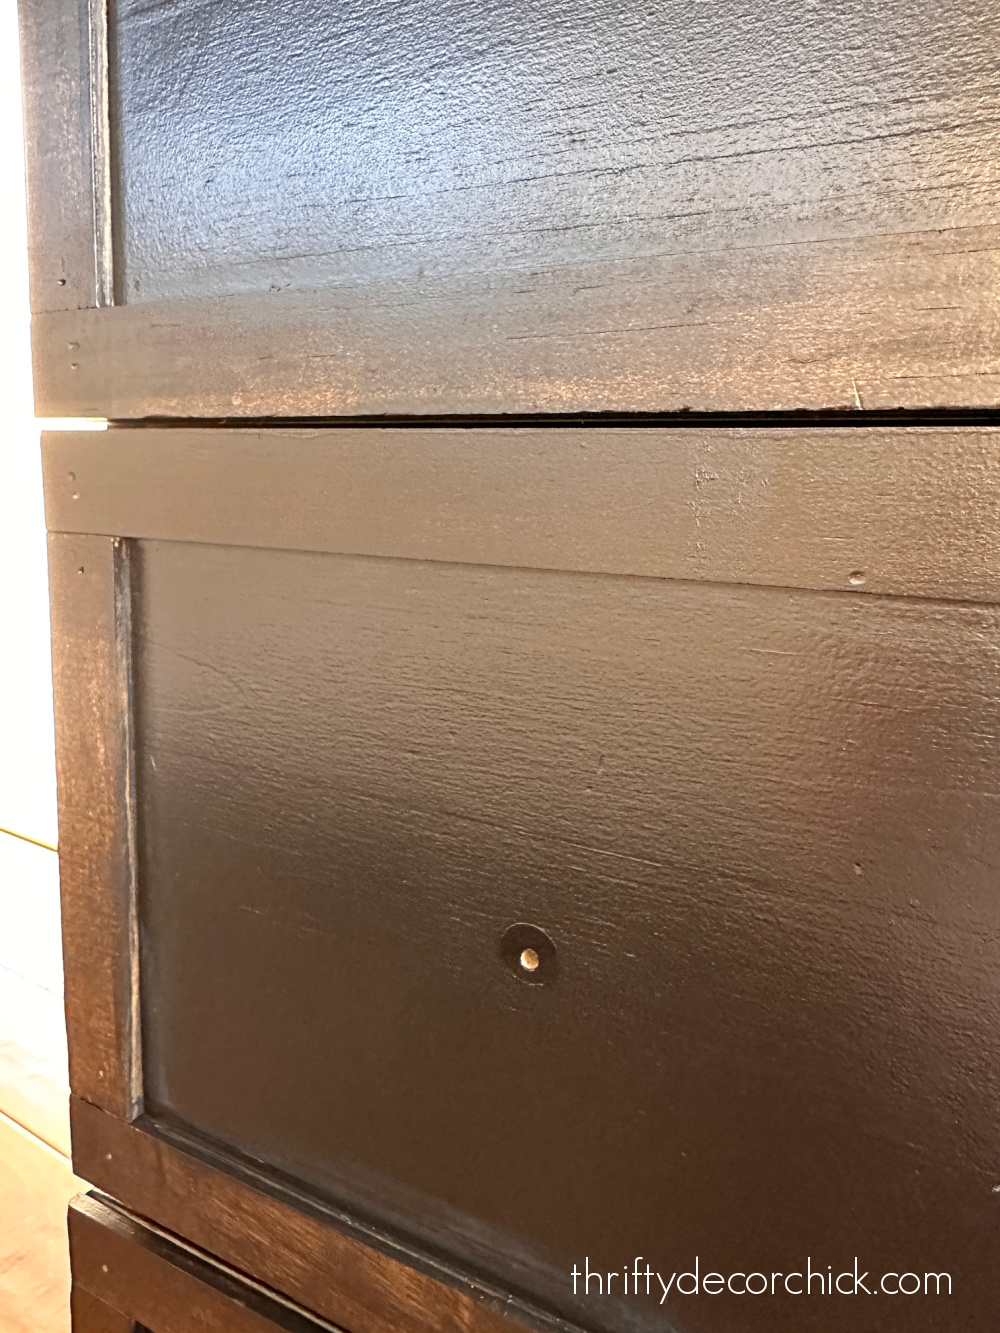
By the second coat, you’ll notice a BIG difference in the coverage.
I don’t always fill nail holes in stained wood (it’s hard to find a good stainable filler, and you don’t notice the holes anyway). But once the first coat of black went on, they were glaringly obvious.


After cleaning them up one more time, I gave the nightstands two more coats of paint (for a total of three) to cover the original paint and stain.
These dressers are not what I would call high quality furniture, but they’ve held up pretty darn well over the years. The whole piece is made of inexpensive pine.
A few coats of black paint made it look SO much better!:
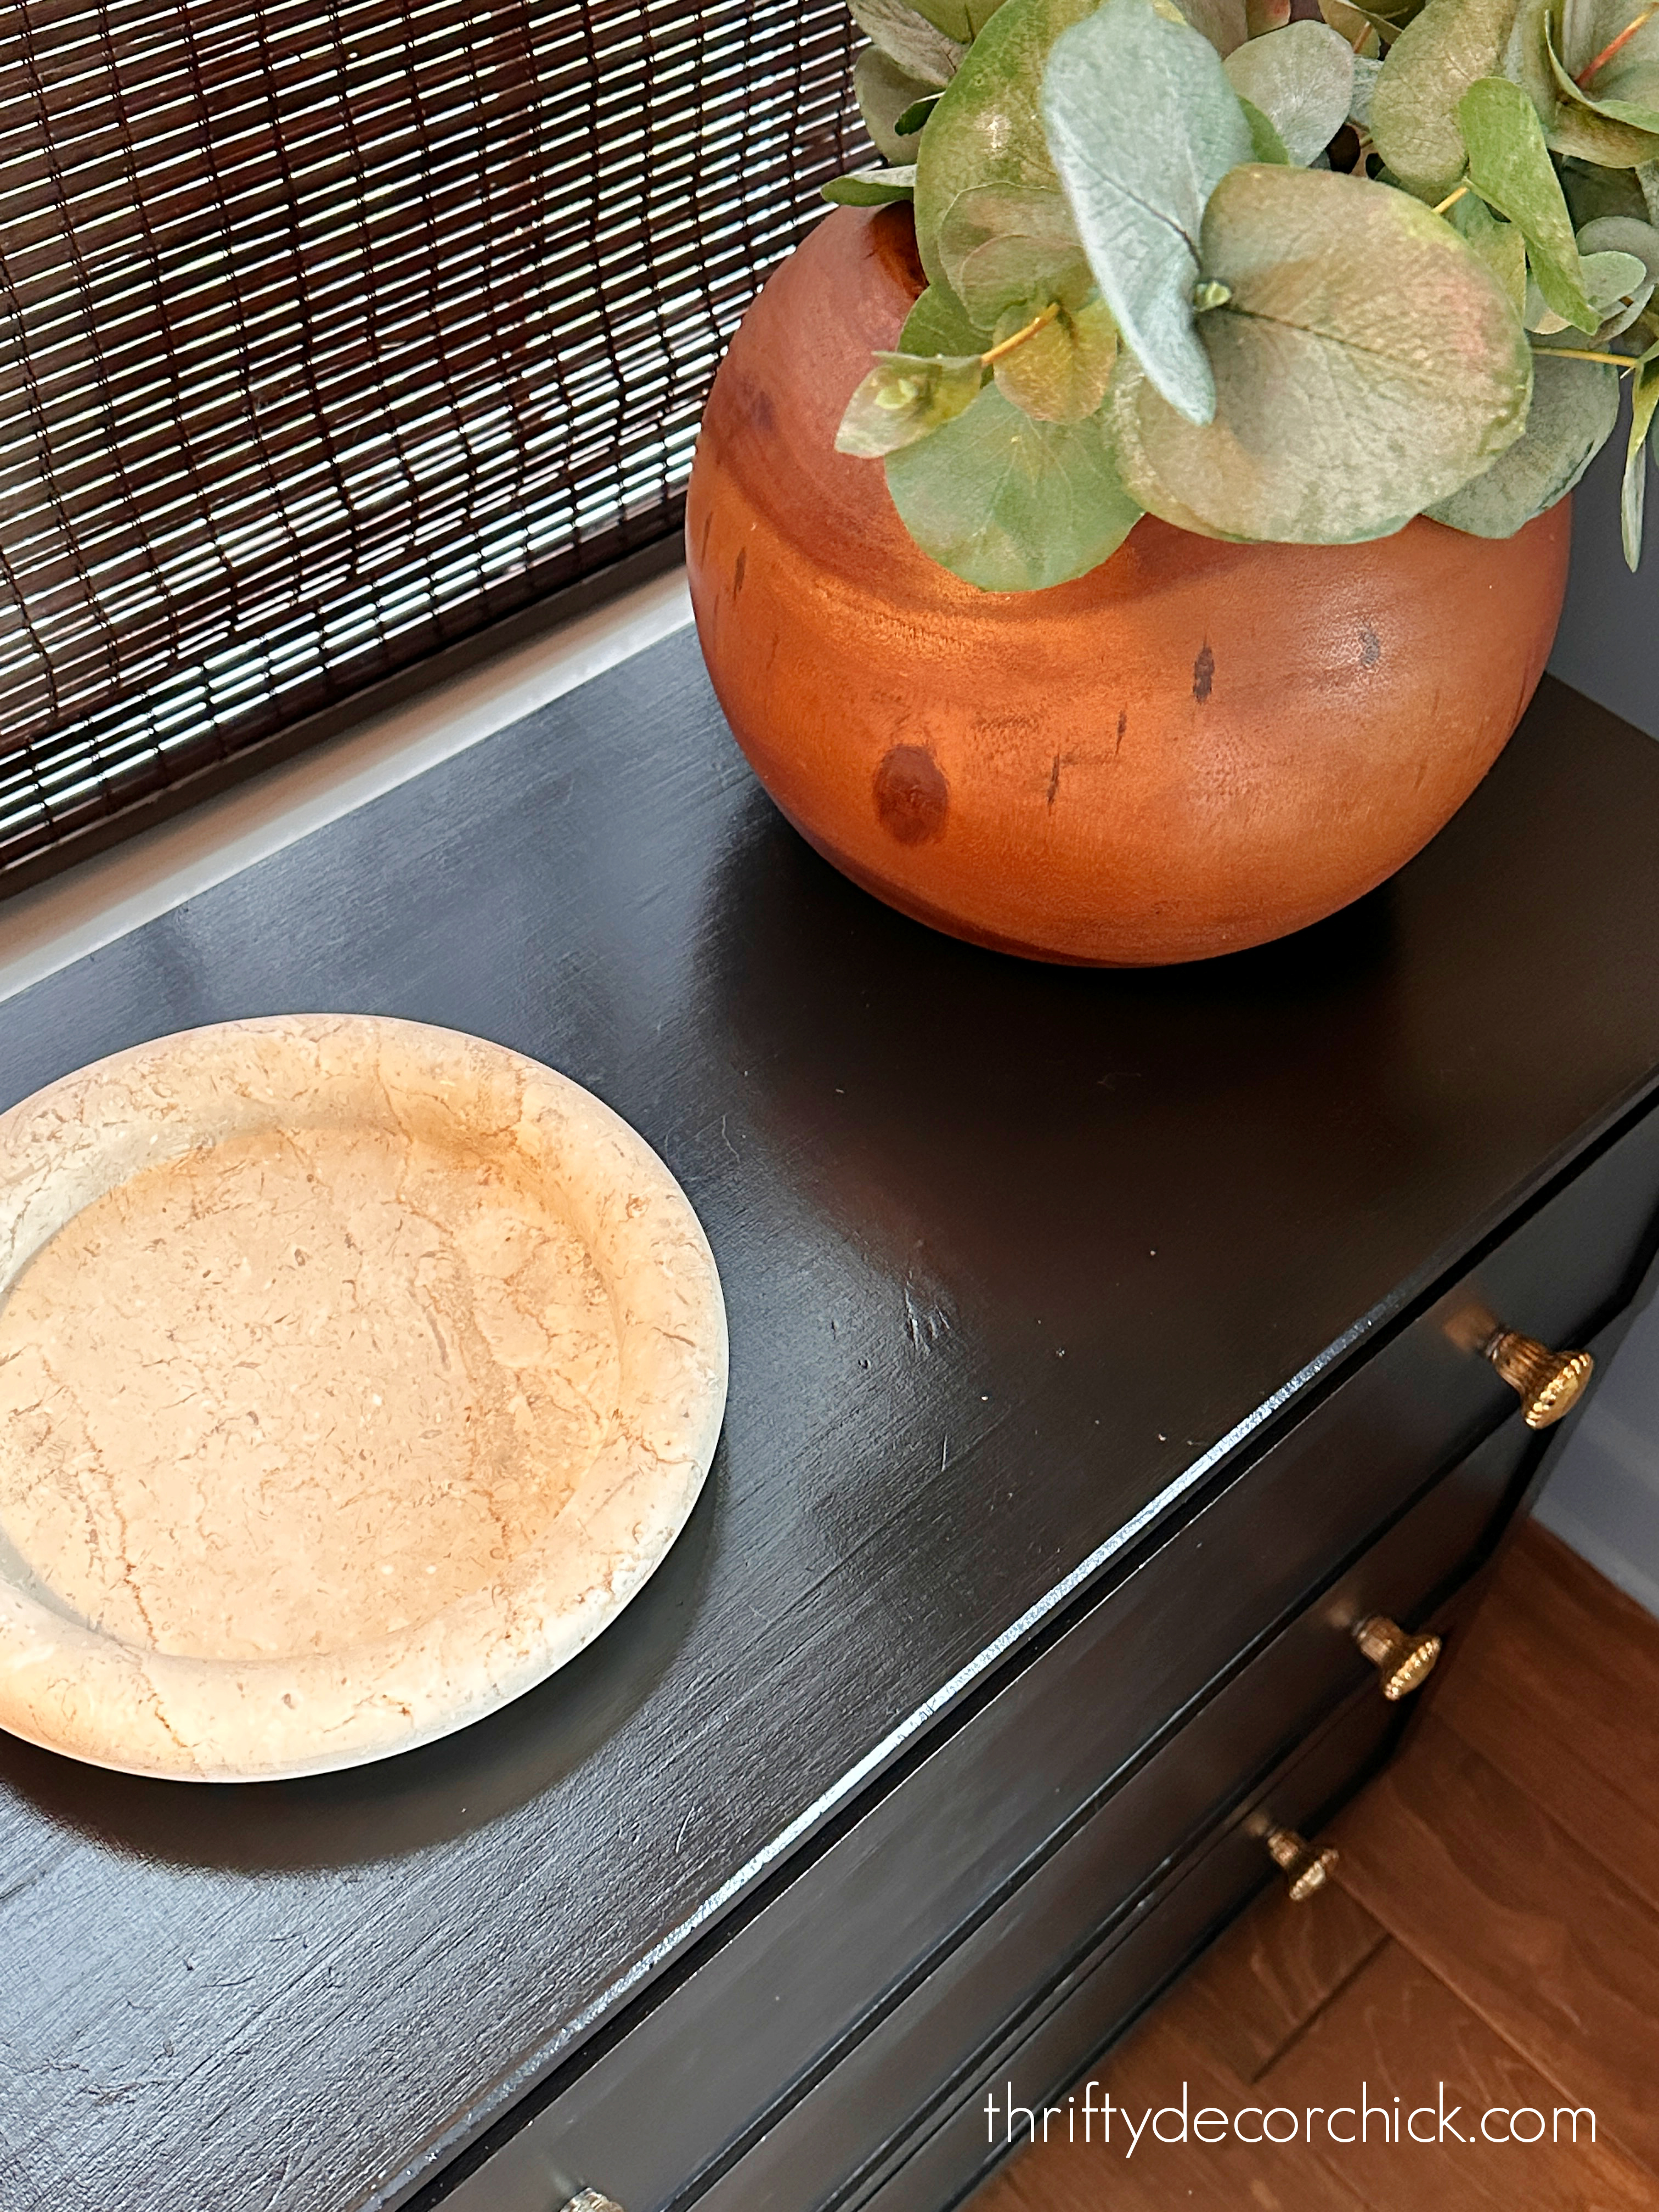
Steps and helpful tips for painting furniture black:
- Give the furniture a good cleaning with a mild cleanser before starting.
- Lightly sand with a low to medium grit sandpaper to knock down any kind of protective coating and/or grease and grime on the surface. (You do not have to do a drastic sanding down to bare wood.) Vacuum up any sanding dust before painting.
- I rarely use primer on painted wood, but it’s always a good idea on unfinished surfaces. But if you’re painting a light piece black, you can have your primer tinted dark so it won’t take as many coats to cover it.
- Latex paint is more than enough for a durable finish with full coverage. I’ve never used oil-based paint for a furniture makeover.
- I use my favorite square-shaped paint brush for detailed areas first, then ALWAYS use a small foam roller for the flat surfaces to cover the brush strokes. A quality paint will self-level to a lovely, smooth finish.
- Let your primer and/or coats of paint dry and cure between coats. The instructions on the can will tell you how long to wait (although I rarely wait quite THAT long between each one.)
- If the surface has a rough texture after the first coat, do a very light sanding before continuing to the second.
- I find a protective over painted wood is not usually needed, unless the surface will be actively used. So for a foyer table that you rarely touch — not needed. For our nightstands I did two coats of poly since we use them every day.
Be sure to let the paint dry for a few days before installing hardware (usually I install the knobs but don’t tighten them all the way) or placing anything heavy on it:
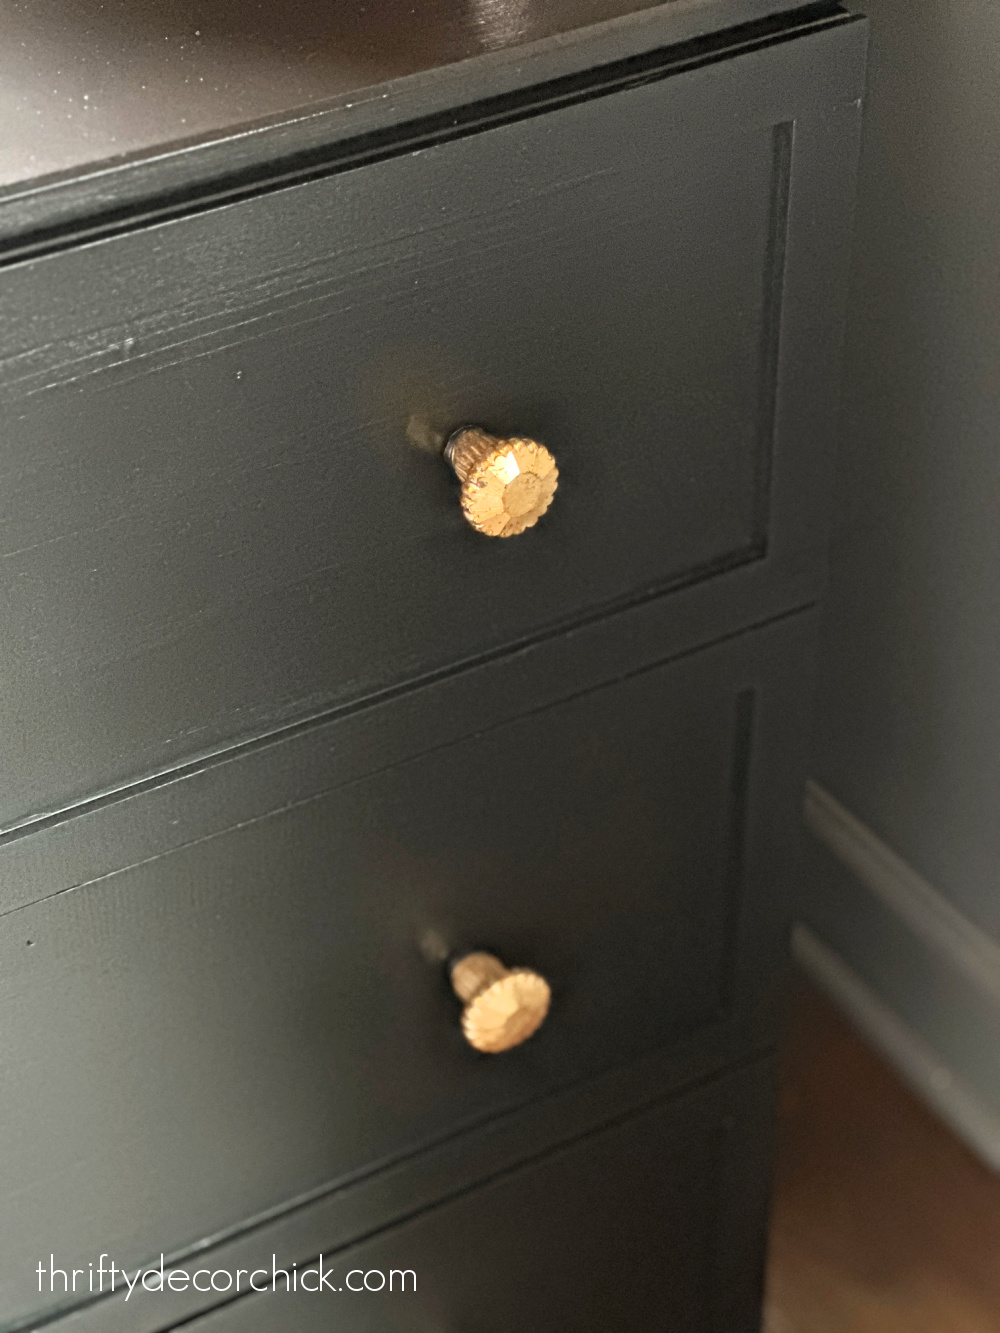
I will never tire of a classic black piece with brass accents! Chef’s kiss!
By the way, that gallon of black paint has painted two doors, the tall bathroom cabinet and our two nightstands…and I still have half a gallon left.
Don’t underestimate the difference a can of paint can make in your home!
I couldn’t believe how much the room “calmed” after these were painted black. The room flows so much better — my eyes don’t stop at the nightstands anymore:

Overall the look is so elevated! The best part of this makeover is that I didn’t spend a dime. I love the change, it’s so soothing and peaceful in here now.