



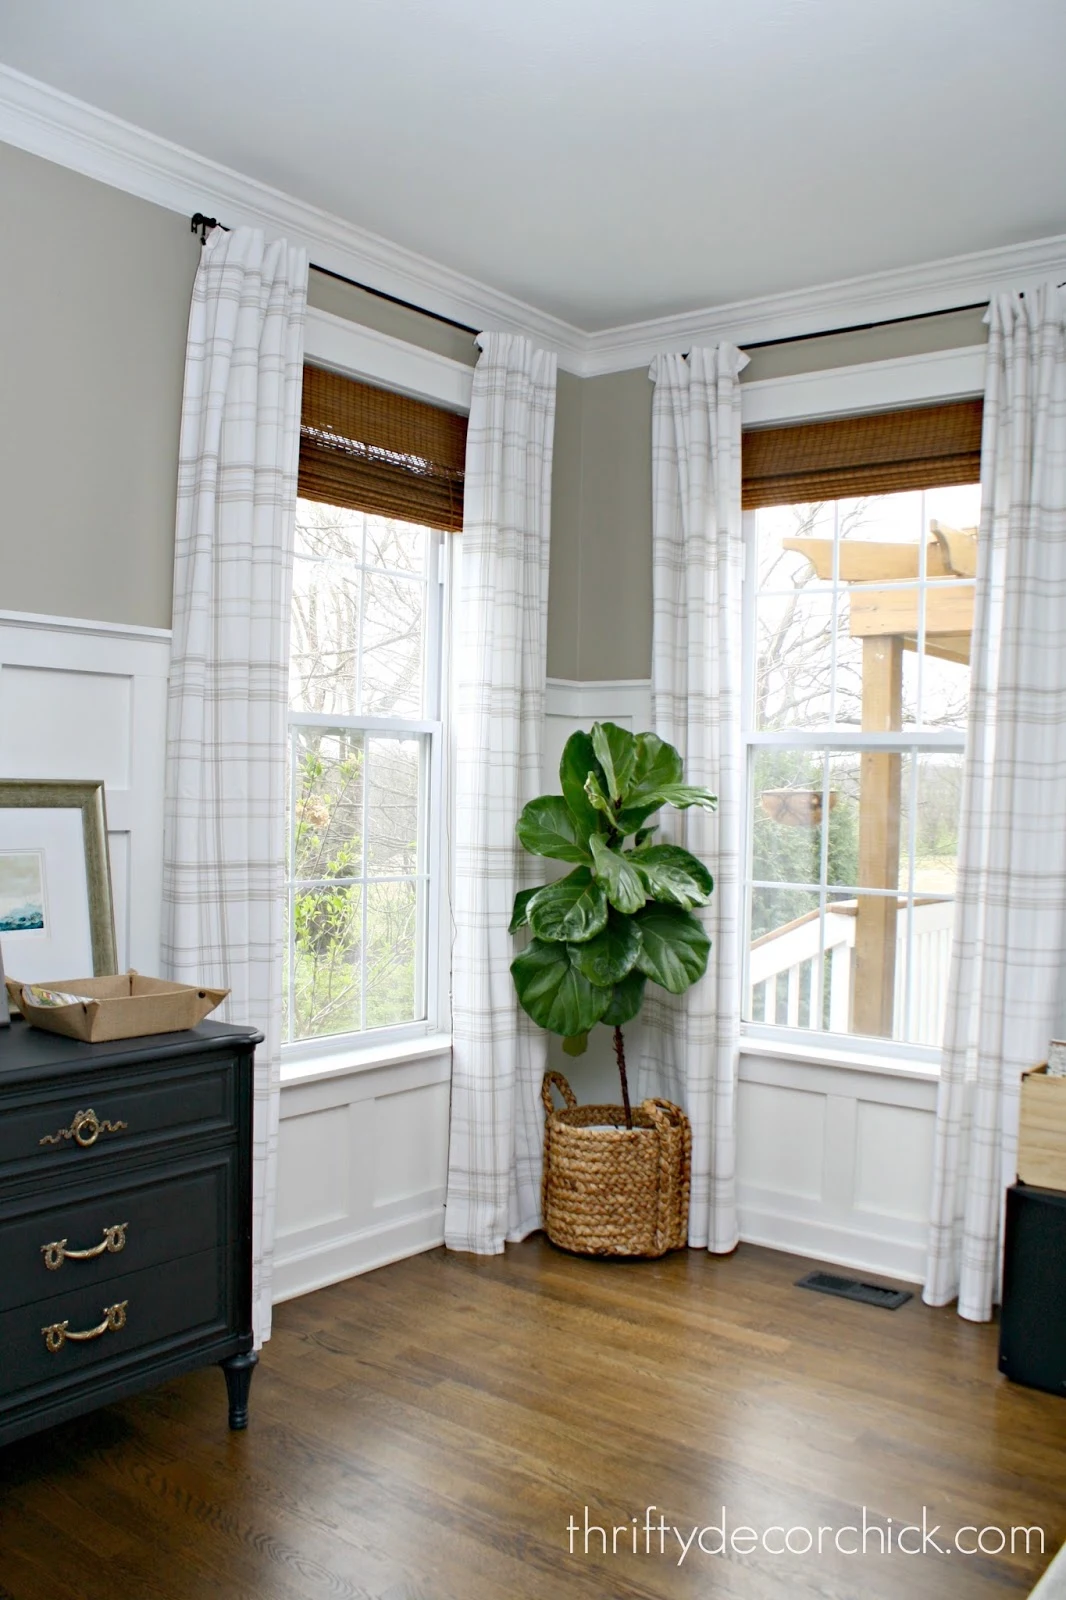
There are so many great ways to update store bought drapes to make them look a bit more custom! And most of these tips don’t involve sewing.

I’ve sewn my own custom curtains many times over the years, but you can save SO much time (and money) just doing a few DIY hacks to ready made drapes.
1. Adding length to drapes
HomeGoods, TJ Maxx and Amazon are great places to find pretty drapes, but finding them at a longer length of 103-108 inches (for nine foot ceilings) is a little more difficult.
Thankfully there’s an easy trick to add a few inches to most store bought drapes! You’ll want to make sure the drapes have large hems at the bottom and/or top:

This post may contain affiliate links for your convenience.
I may earn a small commission when you make a purchase through links.
These drapes were 96 inches long, but had about 4 inch hems at both ends — perfect! You’ll want to inspect your drapes first to make sure they have a large hem like this. Most curtain sets will have at least a two inch hem on both ends.

To get the length I wanted I took the top and bottom hems out.
By the way, these drapes were the kind that you put the drapery rod through at the top — they didn’t have any tabs so it was super easy.

I’ve used this stuff forever — it’s also called fusing web or stitch witchery and you’ll just need an iron to use this product. It comes in a variety of “weights” — if your fabric is thin cotton, the light or regular weight will be sufficient. Heavier fabrics will do better with the super weight option.
If a sewing machine intimidates you, you can even make your own drapes from scratch with this! Just place it on your fabric where you want your hem and then iron (be sure to use your steam setting to make sure it sticks well).
Before I learned how to sew I used this stuff all the time to make drapes — it holds up for years and years! (You can even wash the items on a delicate cycle.)
I’ve also used this iron on webbing to add black out lining to inexpensive curtains.
2. Give your curtains a pleated look
Custom drapes made with pleats at the top make them look much more expensive and high end. Instead of doing that, I’ve done this little hack to give our window treatments the pleated look just by hanging them differently.

It makes them look like someone sewed them for you. 😉 I’ve done this for as long as I can remember on all of our windows and it always looks good.
The thicker the fabric the better for this trick!:


This is how this little adjustment looks on lightweight curtains:

3. DIY your own pleated drapes
Giving your cheaper curtains a true pleat isn’t as difficult as you’d think! If you have the most basic sewing experience, you can do this DIY.

I’ve tweaked those cream and beige plaid drapes many times over the years! Here they are with the pinch pleats added:
The hardware used to do this DIY allows you to give your curtains different kinds of pleated looks — from the simplest to the more elaborate triple pleat:

Keep in mind, if you add pleats to your drapes, you will lose some width. So if you close your curtains, you’ll want to double check that they will still cover the windows after pleating the fabric.
Another quick tip: Once you’ve added your pinch pleats, you can “train” your drapes to keep that look by tying them up for a day or so. They will hold their shape so much better:

4. Hang them high (but not too high)
Many designers recommend going all the way to the ceiling with your curtain rods, but I don’t always agree with that design rule.
If you have a TON of space above your windows, I find hanging the rod hang a few feet higher than the windows only accentuates how small a window is.
In this case, I recommend hanging your drapes around six to ten inches above the trim.
If your ceilings are a manageable height, handing your hardware directly on the ceiling may be a good option.

I do recommend hanging your curtains as wide as you can on a window. To do this, you’ll want to hang your drapery rods so that they extend out from the side of the actual window by at least six inches, if not more.
Of course the space doesn’t always allow for a super wide install (like in our bedroom, above), but even few inches will allow more natural light into your space!
Have you tried any of these drapery tricks? Here are a few more drapery and window treatment projects I’ve shared that you might find helpful!…


I did the same treatment to drapes in our current bedroom as well: