


Welcome! This is part 3 of how to paint a rustic pumpkin canvas with a palette knife. It’s pumpkin season! This video with a step-by-step tutorial below shows you how to paint a pumpkin stem with a palette knife after you’ve painted the pumpkin. See how to do that here. You can find the original post linked below that also has the supply list and the video tutorial. This is a great tutorial for beginners and can be used to paint short or long stems. You might wonder what color should a pumpkin stem be? It depends if you want your stem to appear more dried out and rustic, or fresh picked off of the vine. The pumpkins in the grocery store tend to be a little more dried out and on the brown side. Pumpkins from a pumpkin patch or farm might be more recently picked and still have a green cast to them. This tutorial is for painting a more dried out looking pumpkin stem with paint textures, but t can also be used to paint more of a green stem by swapping about the same tone of paints in green tones. This is painted on a white pumpkin, but can be used for any color pumpkin canvas painting.

How to Tutorial: How to Paint a Rustic Pumpkin
Supplies to Paint a Pumpkin Stem
Medium body paint colors-Raw Umber, Titanium White, Sap Green, Burnt Orange, Black and Yellow Ochre
Palette Knife
Canvas
Paper towels
Brown or white watercolor pencil
Use An Actual Pumpkin Stem As An Example or Painting Model
If you are unsure, grab a grocery store [pumpkin or even plastic pumpkin stems to use as references while painting. There’s nothing wrong with having a visual directly in-front of you.

Start to Trace the Pumpkin Stem
Use the brown or white watercolor pencil to lightly trace the silhouette of the pumpkin stem. this will help give a predetermined direction. The nice thing about watercolor pencil is it wipes right off the the surface when done and can be painted right over.
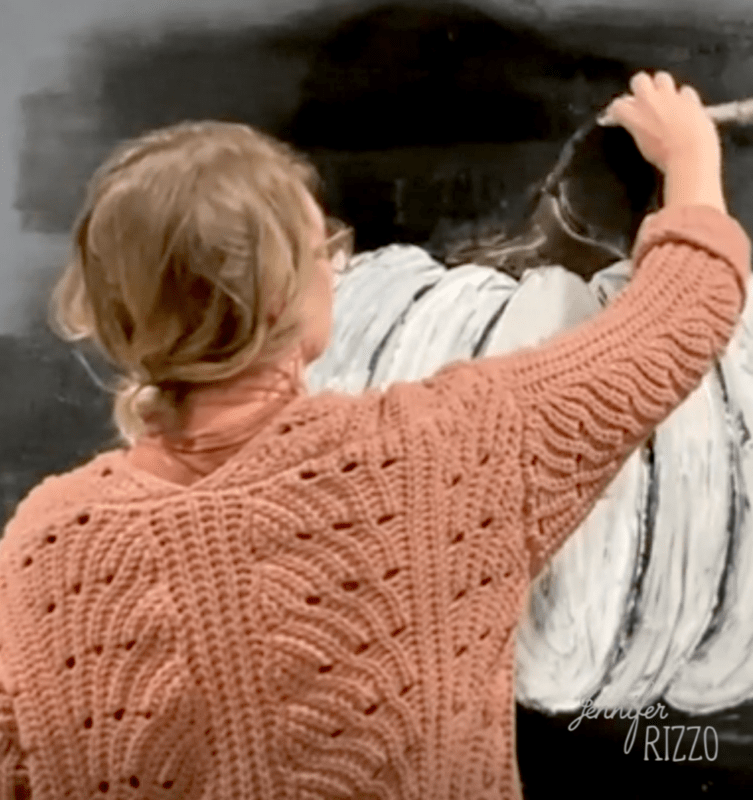
Add the First Layer of Paint for the Pumpkin Stem
Paint your canvas and pumpkin first. Load the palette knife with medium body Raw Umber paint. Use the palette knife to wiggle raw umber paint into a stem-like shape at the base of where the stem would sit. Tip: Holding the palette knife at a slight angle helps.
If that doesn’t seem to be working, switch to a brush until you get farther up the stem. To make it look like a stem, think about creating a loose upside down “L” shape. The stem should continue to get skinnier and skinnier the farther you get away from the top of the pumpkin.

Add Highlights and Low Lights to the Pumpkin Stem
Add accent colors of sap green, burnt orange and white to highlight the stem and give it dimensions you can also small touches of green and yellow ochre to highlight the pumpkin if desired as well.
The one thing I do want to make sure to highlight and low light the stem. Keep the lighter colors to the top and outside of the stem, and darker colors such as black to the underside of the stem to create shading on the stem and reference a source of light.
Dry Between Layers If Needed
While it is best to work the colors while they are still all wet, sometime they just become too mixed together. Don’t be afraid to use an old hair dryer to dry the layers between highlights and shading.

Add Texture to the Painted Pumpkin Stem with Paint
Don’t be afraid to add texture with paint and make it streaky. This gives a sense of realism to the stem.


