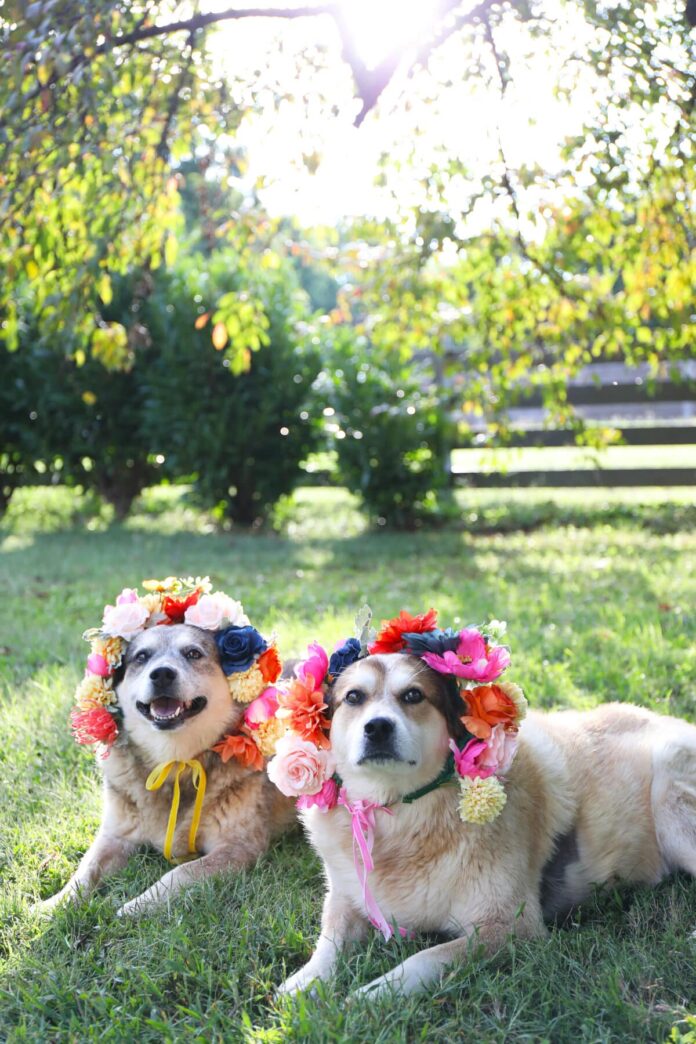
Happy Birthday, Rigby + Fitz!
It’s not every day that both of your dogs turn eleven. We’re pretty fond of these gals, and that puts them at 72ish in dog years, today! They’re getting up there, and we say that they still look fabulous. If we learned one thing, it’s that we should celebrate them more. This year, for their birthday, I decided that some flower crowns and an ensuing photoshoot were in order. We were not disappointed with this outcome or the little treasures we’ll now have forever. Today, I’m sharing this easy craft because, after seeing these, you’ll want to do it too: how to make a flower crown for your dog!

But first, this masterpiece.

Our middle is currently deciding on her school of choice for next year, and she’s a homebody at heart. It had a double value, since I know she’ll be glad to have some of these in her dorm next year. We may even use these to pose for a few senior photos with her, too.

But Seriously. Can you not even?! Because we know we’re biased, but they’re just SO FLUFFY.


Aren’t these so fun?!

Want to make one of your own?

Here’s what you’ll need:
• Flowers of choice- I knew I wanted a variety of colors, so I used:
• these colors + chrysanthemums + pink poppys
• craft wire + floral tape
• ribbon {any will do, I used this}
• wire cutters + scissors + {optional – hot glue gun.}

Take any ribbon you have, and measure your dog’s head. I initially went around the top, then realized that it wouldn’t stay put… You can do the crown either way, but I went for the loop-around-the-head and tie-at-the-bottom version.

When you have your length {I just marked with my finger, because I would cut this ribbon later for the bottom of my crown} use your craft wire to measure out how much you’ll need. Do a little extra so you can loop it at the ends, as shown below.

Then, I tested it out, and it was a winner.

Next, decide which flowers you want, and start placing them on your crown. Trim the stem, but leave enough to attach it securely. Start on one side and add to your vine by wrapping tape around each stem. Each flower will face the same direction, so go ahead and make it full.

Some of these shots were borrowed from video, so they’re a little lacking. But I think you guys get the point.

Slowly but surely, all the way around!


I just kept going.
Towards the end, I also added a little extra greenery around the edges with some spare leaves and my glue gun.
That gave me more control over their placement.

When I reached the end, I wrapped the tape around each section to secure it in place.

Then I added ribbon to each piece.

This was so I could tie it underneath their necks, and ideally, they wouldn’t budge as much.

Tada! You’re ready to go.

Aren’t these just the cutest ever? We are so grateful to have these little photos forever. And I know my middle will love putting one of these in her space next year!


We really had so much fun with this shoot. They know the drill when I break out the camera, but Rigby’s crown came off, and she was giving her dad sad eyes, since he was holding the bribery cheese.

They’re the best models!


As always, let us know if you try them. We’d love to hear. Have an inspired day!


