


When you carve your own rubber stamps , it’s a great way to create a custom stamp! Did you know you could make your own rubber stamps at home? You can make everything from logo stamps to fun images. For instance, I couldn’t find the owl stamp I wanted, so I decided to go way back to my 8th grade roots and do some stamp carving. Have you ever wanted to learn how to carve your own stamps from scratch? This is so easy and fun you will wish you had done it sooner! The full tutorial is below with some tips and instructions.

Did you ever do lino carving in art class at school? I remember we used these really hard linoleum blocks and the teacher warned every one to keep there hand behind their tool. There was always one kid that didn’t listen and ended up with stitches after they jabbed the blade into their hand. Those little cutters are sharp and the actual linoleum blocks can be hard to carve.
How much does it cost to make a rubber stamp at home?
Initial investment is about $6 for the stamp blank to carve and $12 for a carving kit. Once the kit is purchased, the stamp carving material is the main expense.It’s till cheaper than buying a custom stamp on Etsy or another platform.
Choose the new, softer carving blocks for your stamp
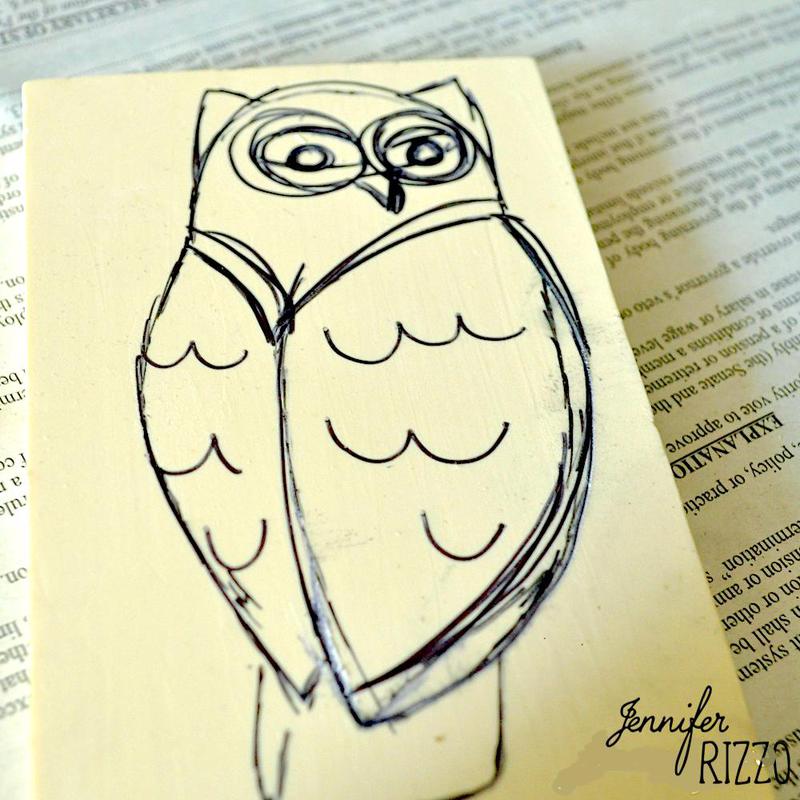
When carving your own rubber stamps, it’s ideal to choose bold graphics as images and fonts with clear lines
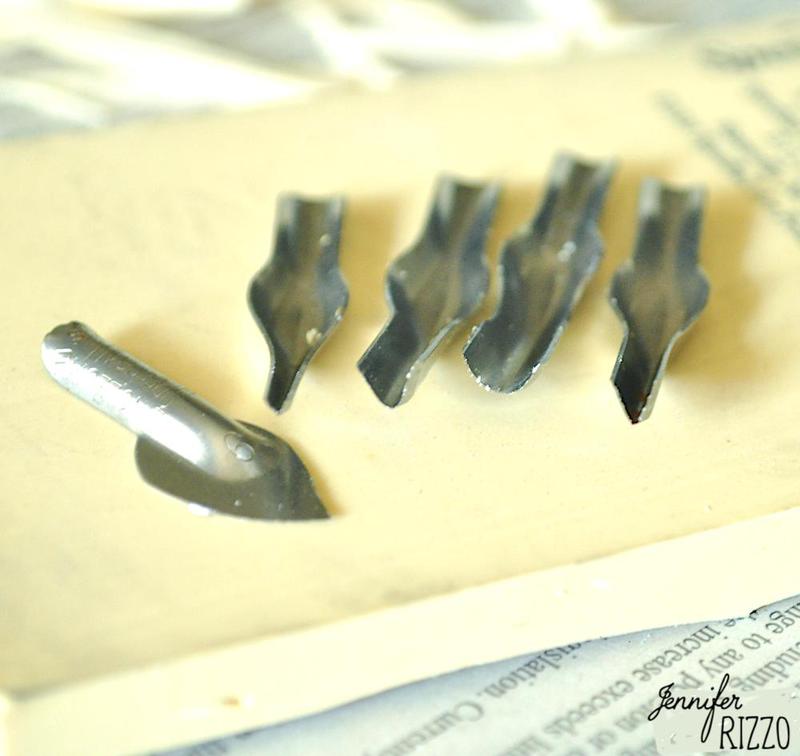
You’ll have different blade choices. Use the tight v’s for smaller areas and the large scooped blades to remove a lot at once.
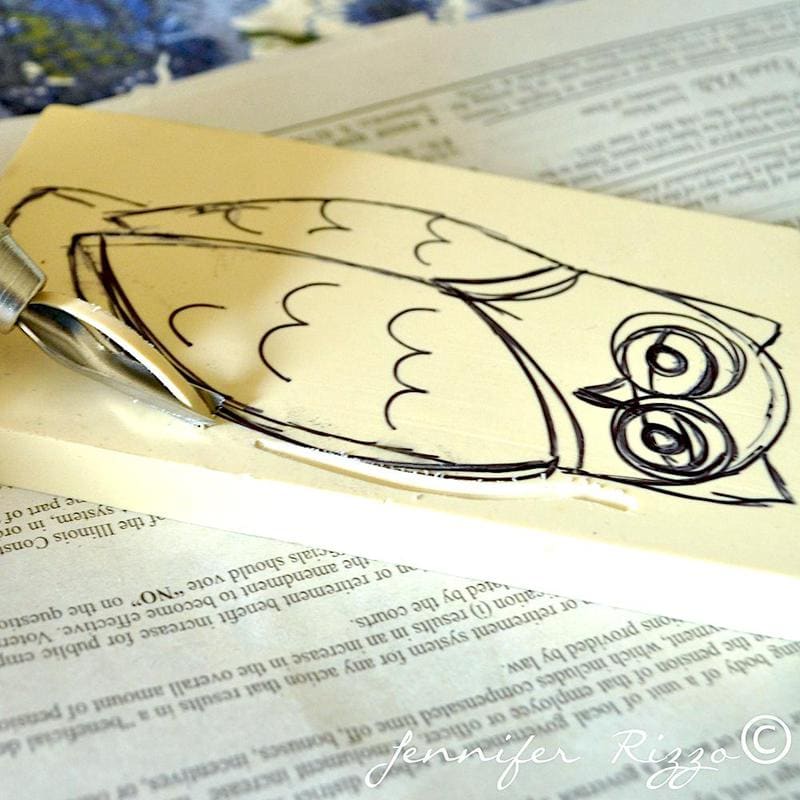
Once you pick your tip, start carving! Just make sure you keep your hand behind your tool. Sometimes it works better to make small scoops instead of large long ones.
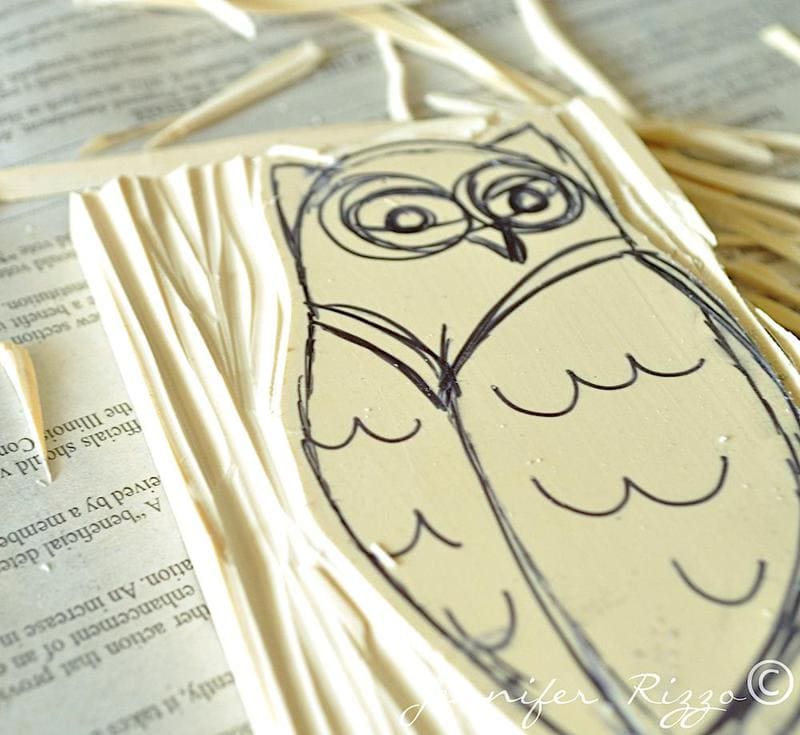
Remove all of the excess material around the image so you don’t end up with stray lines when printing your custom stamp.

I used the really skinny blade for around the eyes and carving out fine detail. Go slow, and enjoy the zen experience of carving. I find when I rush is when I mess it up. Slow is better and safer. Rushing can lead to accidents.
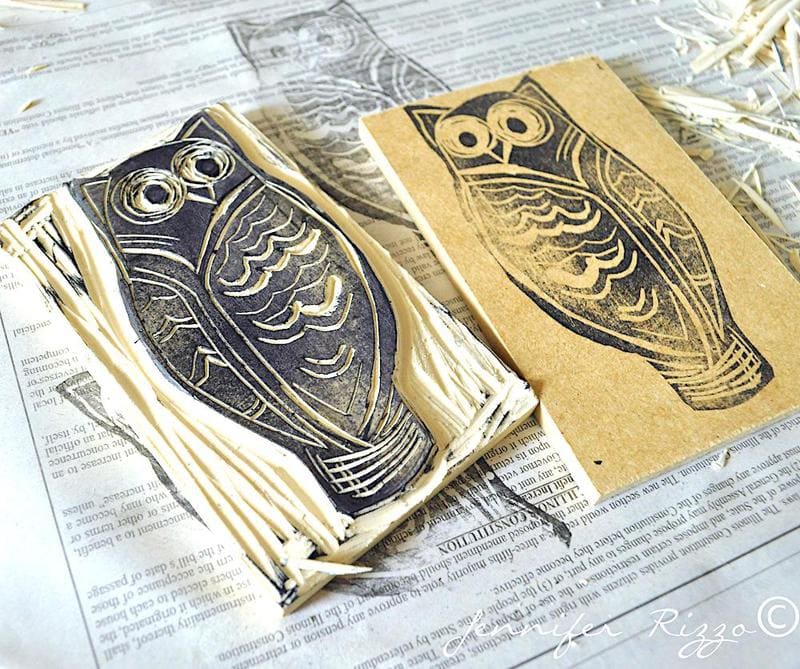
Then your image is finished, you can do a practice stamp with an ink pad to see if there are any high spots to remove or anything you want to tweek it a bit. If you love it, take a wood block and stamp your image on the back. Then when you mount it, you’ll know what your stamp is and how to line up your image when stamping.

Glue it onto the wood block with permanent glue and it is ready to go! You can use this like a regular stamp, and depending on the ink you use, can be used on paper, fabric, lamp shades or even glass. Or, what a great way to make holiday cards and matching envelopes. I used an ordinary stamp ink pad to make my prints on paper.

If you are reading this post at any other sites or blogs besides Jenniferrizzo.com, your rss feed,e-mail or in your reader this is stolen content.
*This was posted Via Jennifer Rizzo. com

