



If you’re looking to make some updates around your home before the holidays, this post is full of furniture makeovers that will give you tons of inspiration!
Painting furniture is a great DIY project for beginners. The most important part is the prep — cleaning and/or sanding before paint makes all the difference in your finished product!
You do NOT have to physically sand furniture before painting, I share the no-sand method of furniture painting below.
And this may be an unpopular opinion, but not every piece of wood furniture is beautiful as-is. Sometimes the finish isn’t great (I’ve noticed this more so with pieces from the 70’s/80’s) or it may have some damaged veneer.
There are definitely times I cringe at gorgeous wood furniture being painted, but often it is the better option. The great thing is, you get to do what you want in your own home!

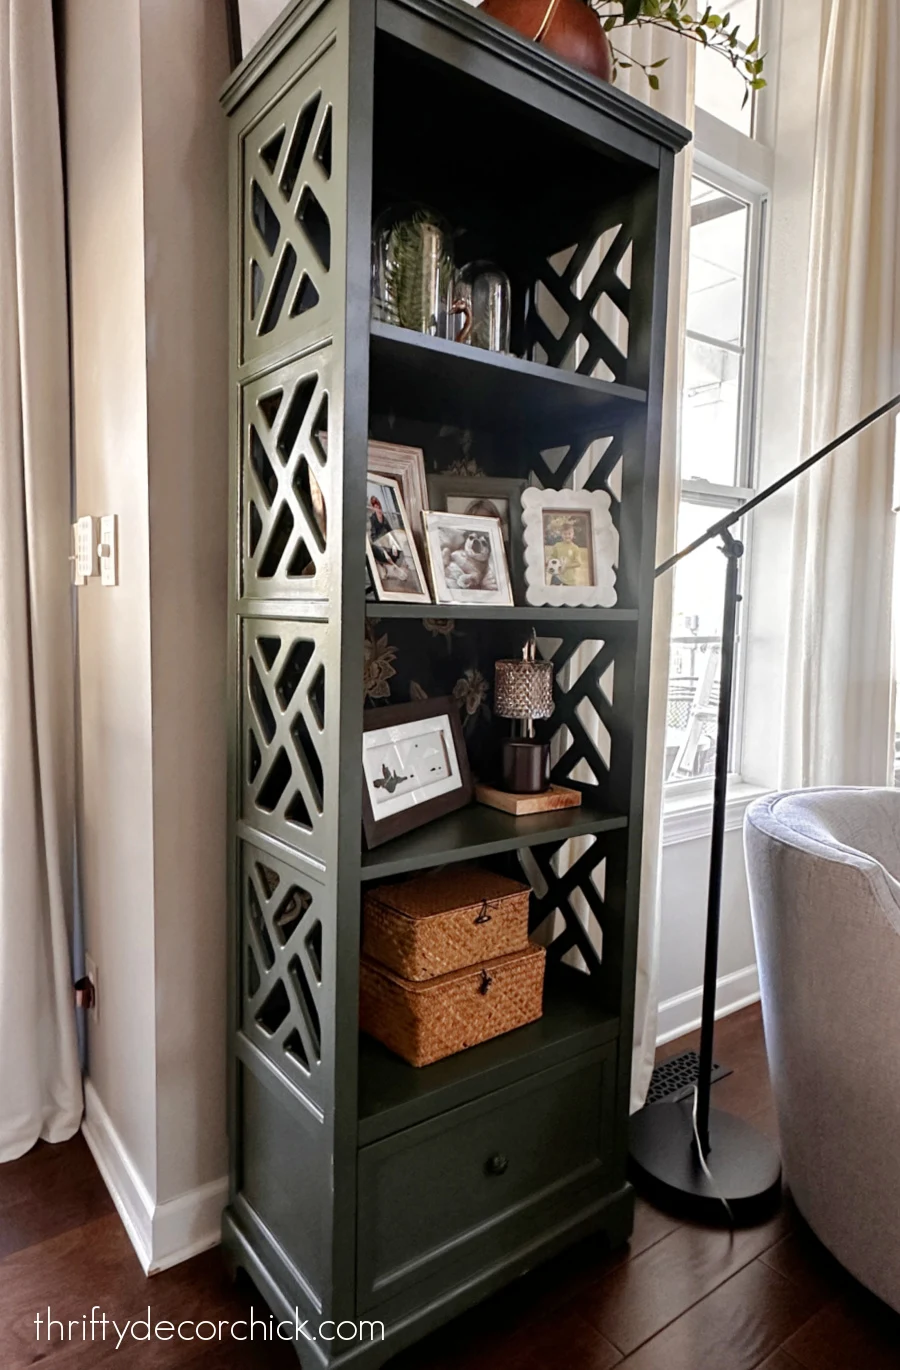
I don’t usually pull out my sprayer when painting furniture, but with all of those cut outs it was a life saver! This piece has so much more presence now that it’s a darker color.

This post may contain affiliate links for your convenience.
I may earn a small commission when you make a purchase through links.
This next one in our bedroom had a speckled finish that I really disliked. I could have refinished the whole thing by sanding and restaining, but that takes way longer than painting.

This green color (Jasper by Sherwin-Williams) is SO pretty with the brass hardware. Oh, how I love green and brass together!
A brush is best for detailed areas, but the foam rollers give me the best overall finish.
I’ve transformed a few Ikea products over the years…I love that they are affordable and ready for customization!

Cutting a few inches off of the legs on this dresser made it the perfect height as a nightstand, plus all of that storage is fantastic! (And the price was great for such a substantial piece.)

Later I was craving more contrast (can you tell I love darker colors?) and this wine tone called Rojo Marron was perfect for our dining room:

The lighter wood tone was hiding a multitude of sins on this piece that I didn’t notice until I started painting it. In the end I had to add decorative molding and painted way more than I planned, but it was so worth it!
This is one of my favorite makeovers in our home now. 🙂
After a couple of coats of a very dark paint, the lovely, detailed hardware became the star of the show! It was lost against the wood before:

Black and brass (or gold) is an instant classic! Gorgeous!
This tall Ikea cabinet has been such great storage in our bathroom, but looks wonderful too:

It’s from their Hemnes line, and came with the wood finish (you see inside the cabinet) all over. I love a two-toned look and decided to only paint the outside in this semi-gloss black color.
If you have no interest in painting furniture, I’ve got you! 🙂 This vintage dresser used to be in our son’s room, but I loved it so much we decided to bring it down to the foyer instead:

I found this cabinet on the side of the road and used what I had to give it a quick makeover. Some leftover paint and a quick stencil gave it new life! It turned out so pretty and was turned into a beautiful little side table.
Have you transformed furniture in your home with paint? Each makeover featured here includes the full painting tutorial.